
Hot Chocolate Bar Setup for a Crowd: Cups, Toppings & Flow
Quick Answer: Set up a hot chocolate bar for a crowd in one direction: cups first, hot chocolate second, toppings third, then lids, sleeves, napkins, and trash. Choose one or two cup sizes, separate allergen-sensitive toppings, and keep backup supplies behind the station so refills do not interrupt guests. Plan from expected servings, then add a practical buffer based on whether guests may return for seconds.
A self-serve cocoa station works best when guests can understand it without instructions. The goal is not the largest topping display; it is a calm route that keeps hot drinks, dry toppings, lids, and cleanup from competing for the same few inches of table space. This guide covers layout, cup choice, quantity planning, refill gates, and a final rehearsal for holiday parties, school or community events, office gatherings, and catered winter service.
Start with a one-way hot chocolate bar layout
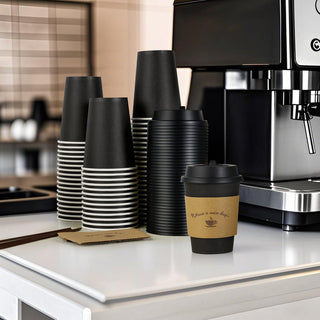
Build the station in the same order a drink is assembled. Put empty cups at the entry end, followed by the beverage dispenser. Place toppings after the hot liquid so guests do not carry open cups backward through the line. Finish with lids, sleeves, napkins, stirrers, and waste collection.
The best hot chocolate bar layout separates pouring, topping, and finishing into distinct zones. That separation reduces crossed hands and gives staff a clear place to restock.
| Zone | What belongs there | Why it comes in this order |
|---|---|---|
| 1. Cup pickup | One or two cup sizes; sleeves if they must be fitted before filling | Guests make the capacity choice before reaching the dispenser. |
| 2. Pour | Hot chocolate dispenser, drip tray, staff towel | The highest-attention task gets its own stable workspace. |
| 3. Toppings | Small bowls, individual scoops, simple ingredient labels | Open drinks move forward without crossing the pour zone. |
| 4. Finish | Lids, cup sleeves, stirrers, napkins | Guests secure and carry the completed drink after decorating it. |
| 5. Exit | Trash, used-spoon bin, spill supplies | Cleanup stays away from unused cups and toppings. |
How many cups and servings should you plan?
Use expected drink servings as the planning unit. A simple starting formula is:
Expected servings = guest count × expected drinks per guest.
Then add a cup buffer for spills, seconds, and damaged pieces. The right buffer is an operating decision based on event length, weather, other beverages, and whether children will serve themselves; it is not a universal percentage.
For a short reception with coffee, tea, and water available, one cocoa serving per expected participant may be a sensible starting assumption. A long outdoor event or cocoa-focused party may need a higher assumption. Record the assumption on the event sheet so purchasing and service teams know what was planned.
Cup count should follow forecasted servings, not guest count alone. If guests can refill, either provide a way to reuse the same cup or budget for additional cups.
| Decision | Smaller cup | Larger cup | Planning note |
|---|---|---|---|
| Tasting or children’s station | Often easier for portion control | May create more unfinished drinks | Choose only products appropriate for the event and follow their use instructions. |
| Adult indoor gathering | Supports topping-heavy drinks and sampling | Works for a full beverage serving | Offer one size when speed and inventory simplicity matter most. |
| Outdoor winter service | Cools sooner but is lighter to carry | Holds more beverage but adds weight | Test lids, sleeves, walking route, and handoff before opening. |
| Catered queue | Can speed portioning | May slow dispensing and topping | Use the dispenser’s actual fill time in the rehearsal. |

Choose cups, lids, and sleeves as one system
Do not assume that a lid or sleeve fits because the cup has a familiar ounce size. Cup taper, rim diameter, wall construction, and the specific lid profile all affect the finished drink. Fill and carry a sample using the exact cup, lid, and sleeve combination before the event.
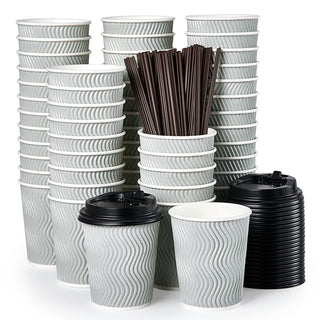
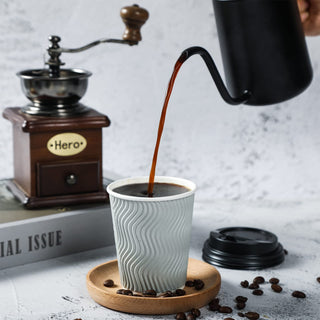
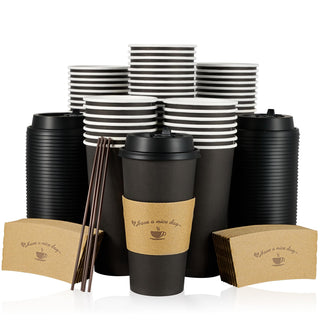
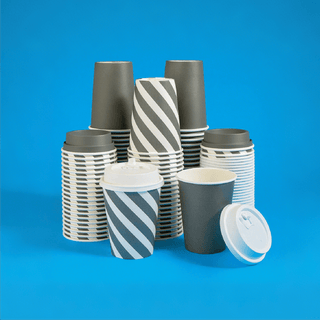
Ripple-wall cups offer a textured outer surface, while single-wall cup sets may use a separate kraft sleeve. The better choice depends on the station’s drink recipe, handoff, and storage—not on appearance alone. For a deeper component check, use the coffee cup sleeve fit guide and the 8, 12, 16, and 20 oz cup guide.
A hot-drink service is reliable only when its cup, lid, sleeve, fill level, and carry route have been tested together.
Build a topping menu guests can navigate
Keep the menu compact: one marshmallow option, one chocolate option, one spice, and one optional special topping are easier to replenish than a crowded display. Use a dedicated scoop for every bowl. If a topping contains a major food allergen, label it clearly and keep its utensil and container separate from other toppings.
The U.S. Food and Drug Administration identifies nine major food allergens and explains that cross-contact can occur when an allergen is unintentionally incorporated into another food. Review the FDA food-allergy guidance, keep original ingredient packaging available for staff, and avoid making an “allergen-free” promise unless the full preparation and service process supports it.
A six-step setup and rehearsal workflow
Current Jolly Chef products for the station test


Gray ripple-wall cup sets
Use the available sizes to test a textured-wall service setup with matching lids.

Black hot-drink cup sets
Compare 10, 12, 16, and 20 oz options against the event’s serving plan.

Bulk kraft cup sleeves
Use as a fit-test candidate with the exact cup and lid selected for service.
Explore the hot chocolate cup collection for the main next click. Confirm current pack details and availability on each product page, then check Jolly Chef shipping information before setting the purchasing deadline.
Frequently asked questions
What order should a hot chocolate bar follow?
Use cups, pour, toppings, lids and sleeves, then napkins and trash. The line should move in one direction without backtracking.
How many toppings should a hot cocoa bar have?
Start with three or four distinct choices. A smaller menu is easier to label, separate, refill, and keep tidy.
What cup size is best for a hot chocolate bar?
The best size depends on the audience, recipe, event length, and other beverages. Test one or two sizes and avoid adding choices that slow the line.
Should lids go before or after toppings?
Place lids after toppings so guests can add ingredients without removing and replacing a lid. Keep lids away from drips and topping utensils.
How do you handle food allergens at a topping station?
Label ingredients, use separate containers and utensils, retain original packaging, and prevent shared scoops. Do not promise an allergen-free station unless the full process supports that claim.
How should staff restock the station?
Keep backups behind or beside the service line in labeled groups. Refill from the staff side so guests do not need to stop or reverse direction.
Data and assumptions: This topic is a seasonal content-gap test because JC’s exact GSC query data is limited; no search volume is claimed. Google Trends US 90-day, 12-month, and 5-year requests were attempted for four topic variants but returned HTTP 429, so no relative indices were recorded. Product availability was checked immediately before publication and can change. This operational guide does not replace product, equipment, food-safety, or allergen procedures for a specific venue.