

Halloween Dessert Table Setup: Plates, Portions & Guest Flow
Quick Answer: A practical Halloween dessert table needs three zones: plates and napkins at the entrance, desserts in the center, and cups or utensils at the exit. For planning, count one dessert plate and one napkin per guest, then add a small buffer for seconds and spills. Put bite-size desserts in individual cups when guests will be standing or moving.

A dessert table can look festive without becoming a bottleneck. The goal is a clear service path that keeps food protected, gives guests a clean place to set a dessert, and lets the host restock without reaching across the display. This guide focuses on layout and disposable tableware decisions for home parties, school events, and small catered gatherings.
Start with the guest flow
Place the table where guests can approach from one side and leave from the other. If the table is against a wall, keep the most frequently selected items near the front edge. Keep candles, décor, and tall stands behind the food path so they do not compete with hands and serving tongs.
| Zone | Place here | Why it works |
|---|---|---|
| Entry | Plates, napkins, forks | Guests take service pieces before choosing food. |
| Center | Cupcakes, cookies, brownies | The focal display stays visible and easy to refill. |
| Individual servings | Pudding, mousse, fruit, candy cups | Portioned cups reduce shared-contact handling. |
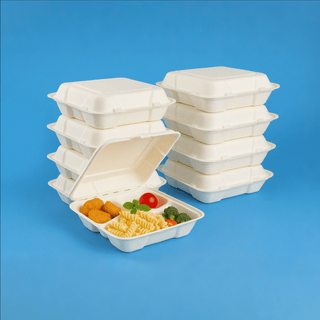
| Exit | Extra napkins, waste bowl, takeaway containers | Guests can finish without reversing the line. |
Clear zones reduce queue friction because guests do not need to cross the display to find a plate or utensil. That is a layout judgment, not a measured performance claim; test it against your room size and guest count.
Choose tableware by dessert and setting
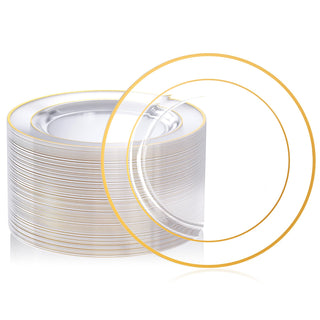
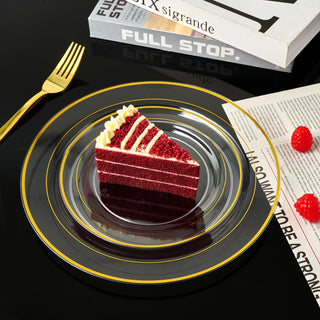
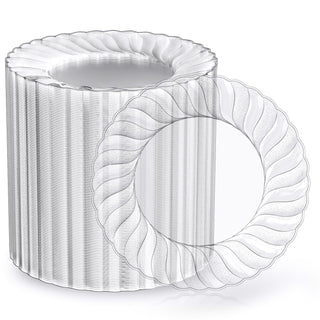
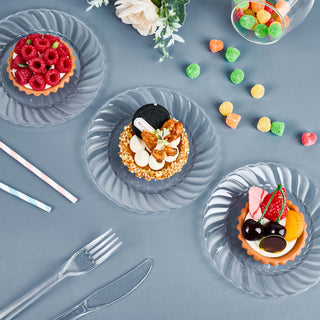
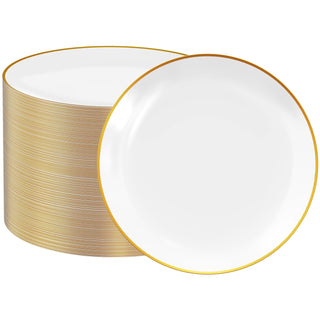
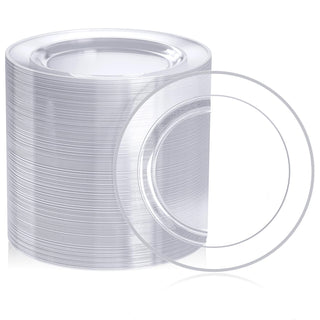
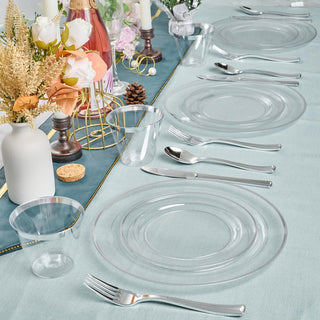
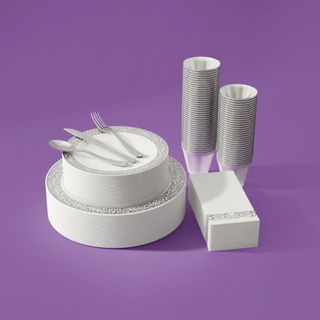
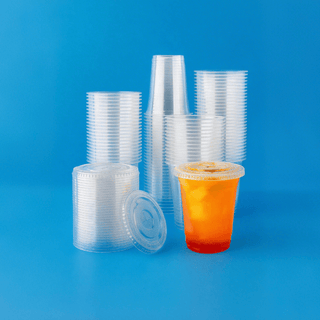
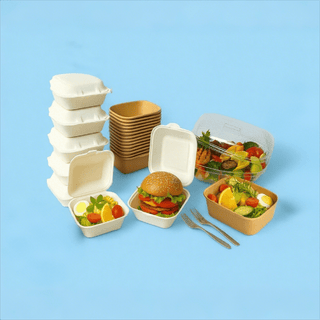
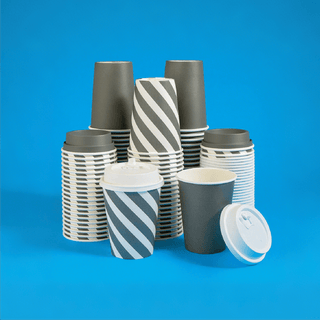
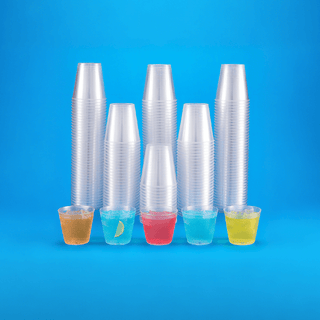
Use a plate for items that need cutting or several toppings. Use a small clear cup for soft desserts or layered portions. For an outdoor or standing event, a sturdy plate and a pre-rolled utensil set are easier to manage than loose pieces. Jolly Chef’s tableware collection can be used to compare plate and serving formats, while the plastic cups collection is a starting point for individual portions and drinks.
Simple quantity rule
For a seated dessert course, begin with one plate, one napkin, and one utensil per guest. Add 10% for children, dropped items, or seconds; use a larger buffer when the event is self-serve and there is no easy restock point. This is a planning assumption, not a promise of the exact amount needed.
| Guest count | Plates | Napkins | Forks or spoons |
|---|---|---|---|
| 25 | 28 | 28 | 28 |
| 50 | 55 | 55 | 55 |
| 100 | 110 | 110 | 110 |
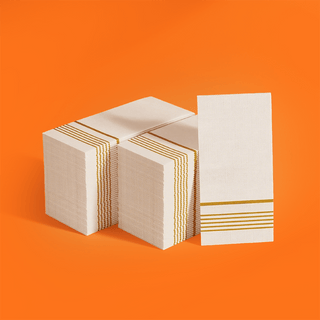
Round up to the next case or pack size after calculating the buffer. Check the product pack count before ordering; pack sizes vary by item and are not inferred from this table.

A five-step setup workflow
- Map the approach: leave a clear standing lane and keep the exit side open.
- Build the service stack: put plates, bulk paper napkins, and utensils together.
- Stage the display: place taller cake stands at the back and low trays at the front.
- Portion where useful: use clear cups for mousse, pudding, or fruit so guests do not need a serving spoon.
- Make restock visible: keep a labeled backup bin under or beside the table, not in the guest path.
The best dessert-table layout is the one a first-time guest can understand without asking where to start. A five-minute walkthrough before guests arrive is a useful quality check.
Small-room adjustments
If the table is narrow, use one central cake stand and move backup stacks to a side cart. If children will serve themselves, keep breakable décor out of reach and put the lowest, easiest-to-lift treats first. For a buffet shared with savory food, give dessert its own table or a clearly separated end so guests do not mix serving utensils. These adjustments protect the flow even when the room cannot support a perfect one-way line.
When pre-rolled cutlery helps
Loose forks can scatter on a busy table. A pre-rolled option such as gold pre-rolled plastic silverware keeps the utensil and napkin together and can make a formal dessert display feel more finished. For a children’s event, choose the simplest safe-to-handle option and place extras where adults can supervise.
Food handling still matters after the table looks ready. Keep perishable desserts cold as appropriate, use clean serving utensils, and follow current guidance from the CDC food-safety resource. The page is a general reference, not a substitute for local requirements or a caterer’s plan.
Restock and cleanup without breaking the display
Keep one backup bundle of plates, napkins, and utensils together so a helper can restock in one trip. Put a small waste container near the exit, but not directly beside the food. At the end of service, remove food first, then cups and utensils, and finally wipe the table surface. A simple sequence prevents used items from being placed back into clean stacks.
FAQ
How many dessert plates do I need for a Halloween party?
Start with one per guest and add about 10% for seconds, spills, and children. Increase the buffer if the table will not be restocked during service.
Are individual dessert cups worth using?
Yes, when the dessert is soft or the event is standing-room. Cups portion the food and reduce the need for a shared serving spoon.
Where should napkins go?
Place napkins beside the plates at the entry point, with an extra stack at the exit. This covers first picks and messy second servings.
Should drinks share the dessert table?
Usually no. A separate drink station prevents condensation and traffic from crossing the dessert display.
How early should I set up?
Set the empty table and dry tableware in advance, then add temperature-sensitive desserts as close to service as your food-safety plan allows.
Plan the next step
Use the Jolly Chef blog hub for more event-planning guides, and review the holiday catering checklist if your Halloween gathering is part of a larger seasonal service calendar.
Data boundary: the quantities above are transparent planning assumptions, not JC sales benchmarks or guaranteed serving counts. Confirm guest mix, menu, pack size, storage, and local food-safety requirements before ordering.